When you click on this post we believe you are trying to figure out how to add fields to your forms so that users submit all the necessary information in a clear order. Hence there’s a way out which makes us write this article.
So if you want to allow users to add fields to your form. In this next section, I’ll show a step-by-step guide to how you can let users add repeating sections in Elementor Forms.
Table of contents:
What is a Repeater Field in Elementor Forms?
Elementor Forms repeater fields enable allow you to create one or more sets of fields that can be repeated. This allows users can quickly add numerous pieces of data by clicking on the “Add” button and removing them by the X button.

Why you should use repeatable blocks for your forms?
There are situations in which you don’t know how many fields the user needs to fill out in the form. As a result, by allowing users to add fields to your forms, you may make the form more adaptable for various use cases.
For example, they want to add extra fields for people to write comments or indicate designs, colors, sizes, and other details about their uniform order. This ensures that you receive all of the information required to properly complete an order.
You should notice that the flexibility and functionality of the form on your website can be improved with the Elementor Forms Repeater Field to provide a great user experience. Because users are given the freedom to add the relevant elements on their own. It aids in the production of clear and engaging forms that do not leave out any important information from users.
How to Create an Elementor Forms with Repeatable Fields?
Step 1: Select the Best WordPress Plugin
We recommend using Elementor Forms Repeater Fields by Add-ons.org to build a repeater field in your forms, as shown in this tutorial. With it, you can easily add repeater fields to the forms on your WordPress site.
Step 2: Install and Activate Plugin
After downloading the plugin, it’ll be saved as ZIP files on your device.
Installing WPForms is easy and similar to installing any other WordPress plugin. Now, go back to the WordPress dashboard and open Plugins >> Add New – Upload Plugin and choose the ZIP files, then install and activate it.
Step 3: Establish an Elementor Forms with Repeating Parts.
To create a new form, click on New Page under Pages on the left sidebar of the WordPress dashboard. Next, give the page title and choose the button Edit with Elementor.

You will see the interface of Elementor Forms.

On the left side are all the form fields available for use and their field options. On the right side is where you build the form by adding rows and placing fields in them. All you have to do is drag the fields from the right into the rows.
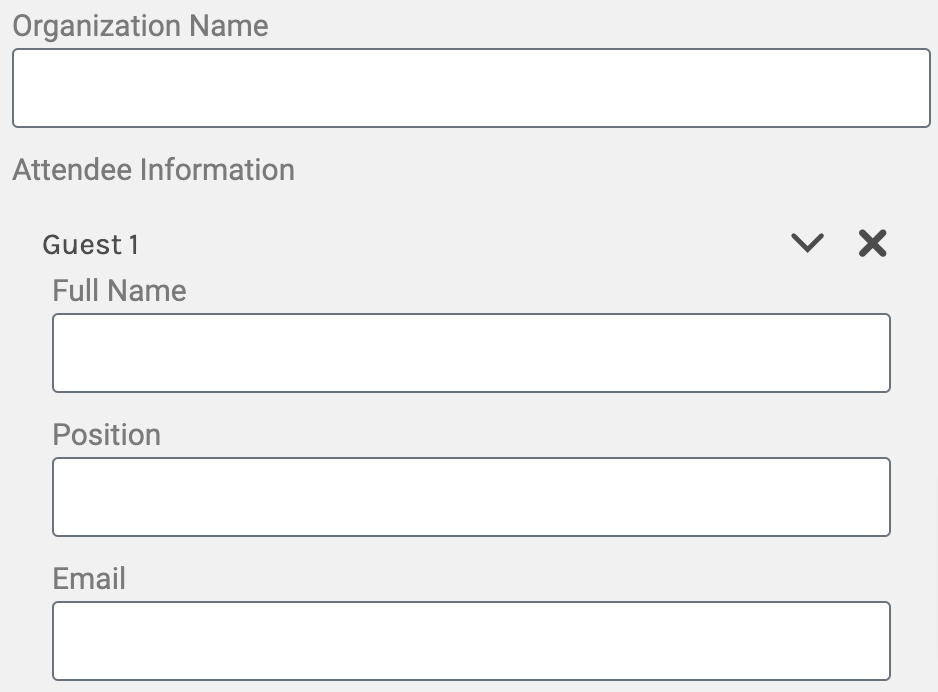
Let’s create an Attendee Information form where your business partner to fill in the blanks with details on who will be attending the event.
First, we add a Text Field under Organization Name
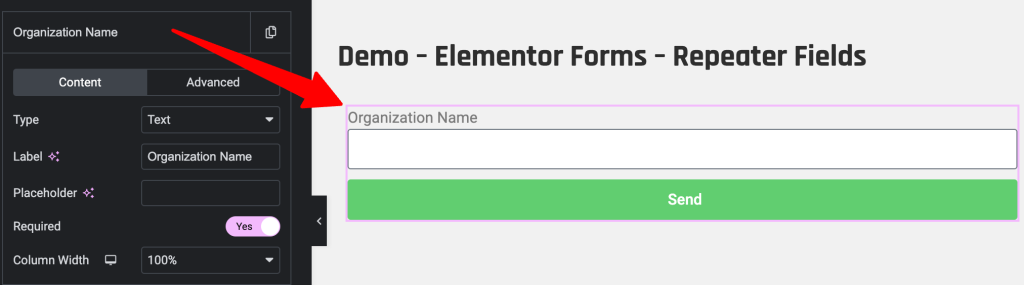
Click on the Field. You can customize the label, placeholder, and size… You can also make any field required so that a user can not submit the form unless filling up that required field.
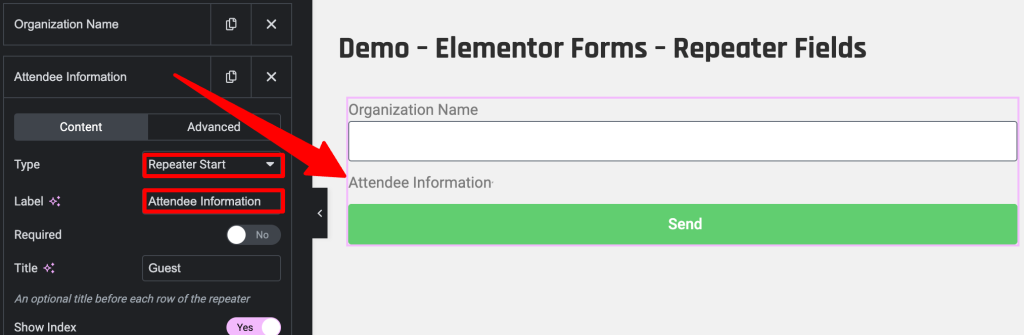
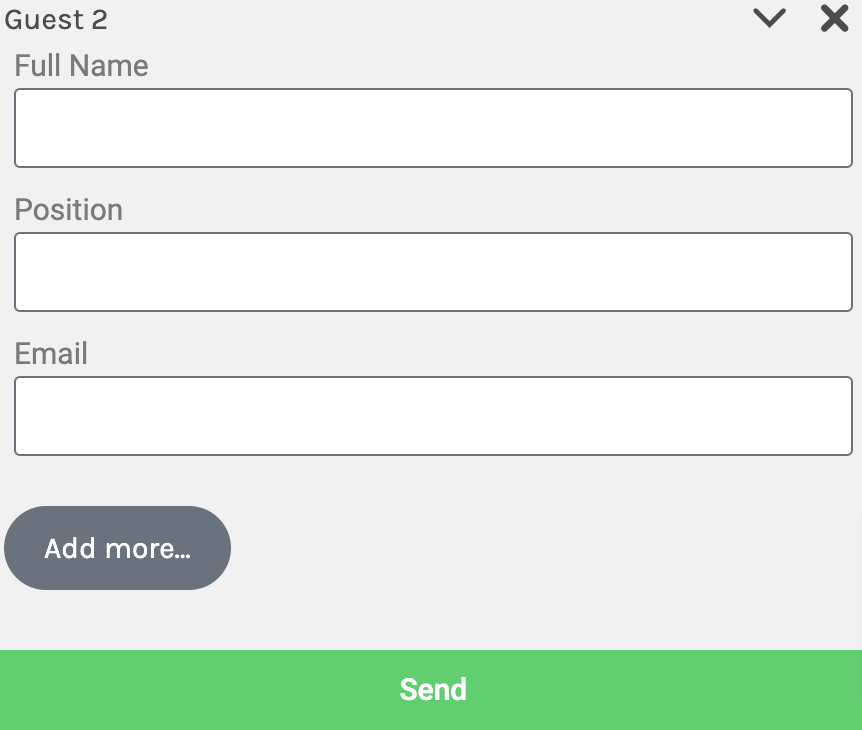
Add one Field – Choose Type: Start Repeater and change the Label to Attendee Information.
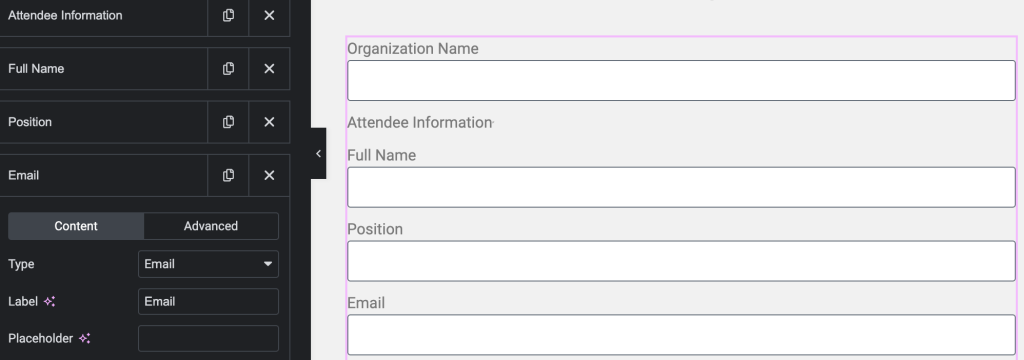
Then add three Text, change the Lable to Position, Full Name, and Email like below:
Add the last Field – Choose Type: End Repeater to finish repeatable blocks. And click on Save when you’re done. You can view what the form looks like in the front end with the Preview feature.
Step 4: Customize and Configure Form Settings
After adding Repeater fields, it’s time to customize the form fields for the Repeater Rows.
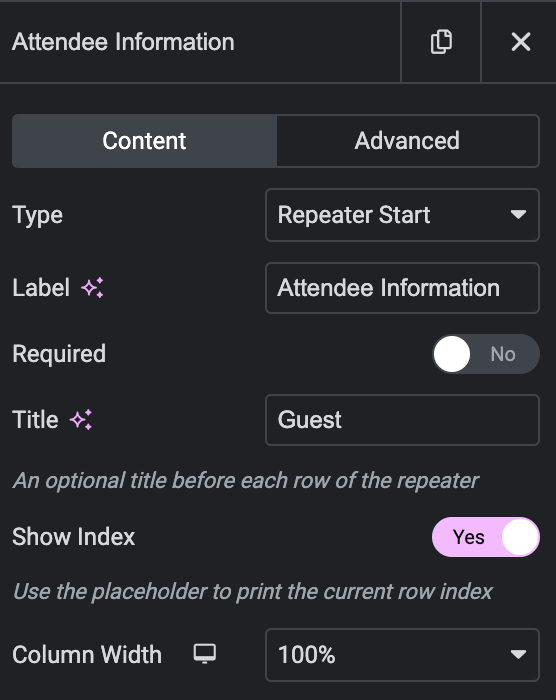
Simply click on Start Repeater, and you will see the properties:
Label: Title field users see when filling out the form
Title: An optional title before each row of the repeater
Show index: Show repeating numbers
Column: Custome field size
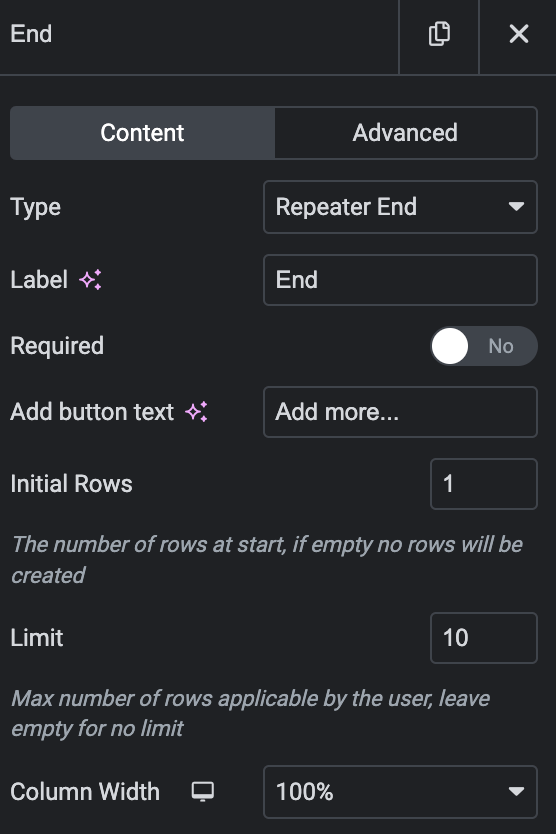
Simply click on End Repeater, and you will see the properties:
Add button text: You can change the text of the “Add” button.
Initial row: You can set the number of repeater fields shown first.
Limit: Max number of rows applicable by the user, leave empty for no limit.
Column: Custome field size
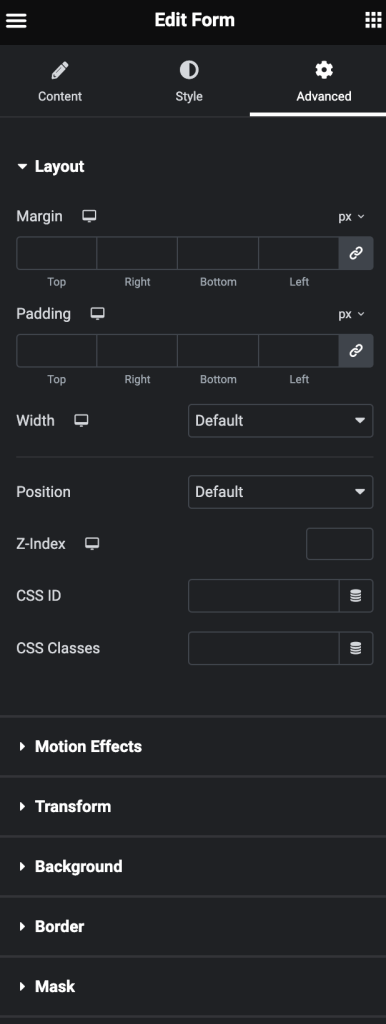
Additionally, for the overall settings of the Elementor Forms, navigate to Advanced, you can change the form Layout, CSS class, Background, Effect,….
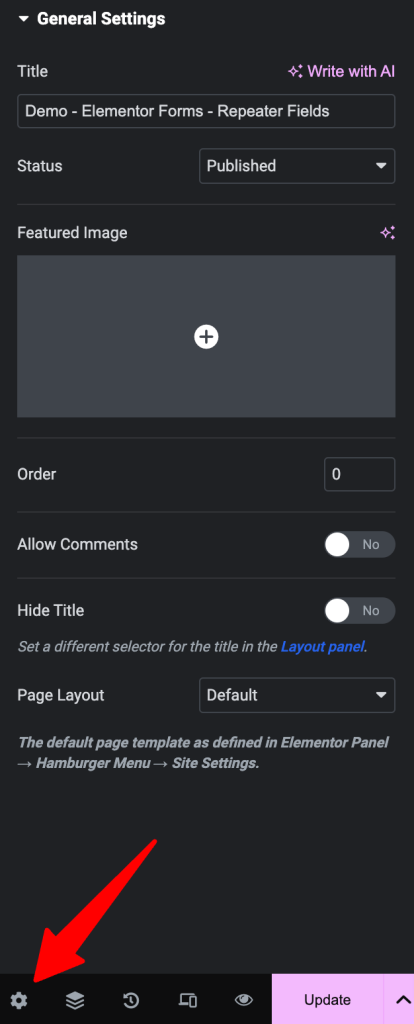
In a similar way, you can go to Settings Icon to configure your title, status, comment,..
Step 5: Save and Preview
After completing all of the previous steps, you click on Save and Preview to look at how your form appears from the front end.
When the user wants to add more data, they can simply click on the ADD button and submit the form. Besides, they can also remove the repeater fields using the X button if they don’t want to add the data.
You can refer to this video
Wrapping up
In this article, we tried to give you a detailed guide on how you can allow users to add fields to your WordPress form. So don’t forget to install the Elementor Forms Repeater Fields by Rednumber Developer plugin to make it easier than ever to create custom forms with repeater fields to place on your site.