This feature allows users to dynamically add multiple sets of fields to the form, making it ideal for capturing information that may vary in quantity, such as multiple items, services, or participants.
These repeating fields can include various input types, such as text fields, checkboxes, radio buttons, or dropdown menus. Users can dynamically add or remove sets of these fields as needed, allowing for a flexible and customizable form experience.
Table of contents:
Installation – top
Download: Contact Form 7 Repeater Fields Plugin
Once you’ve downloaded a plugin, you’ll need to install it on your website. Log into your WordPress admin dashboard. Navigate to the “Plugins” section and click on “Add New.” Search for the plugin by name and click “Install Now” once you find it.
After installation, click on “Activate” to activate the plugin.
Settings repeater field – top
1. How To Add Repeater Fields?
Step 1: Create a new contact form
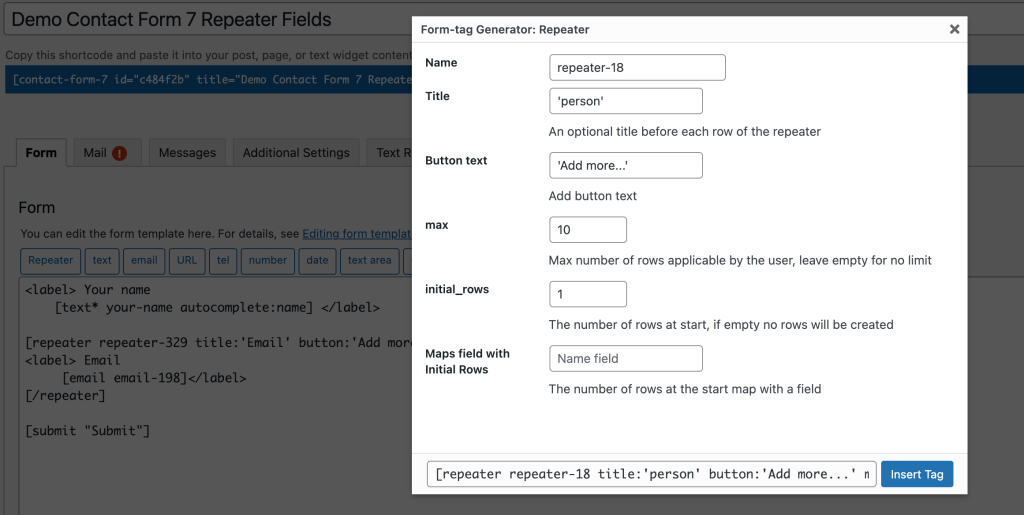
Step 2: Click on the form- tag “Repeater” to add a repeatable field

or use format:
[repeater repeater-name ] text and input repeater [/repeater]
<label> Your name
    [text* your-name autocomplete:name] </label>

[repeater repeater-329 title:'Email' button:'Add more...' max:5 initial_rows:1]
<label> Email
     [email email-198]</label>
[/repeater]

[submit "Submit"]
And choose settings
2. How To Set a Maximum Limit?
You can also set the maximum repeat limit which allows how many times the repeatable field can be added in the frontend.
By typing the number in the Max box
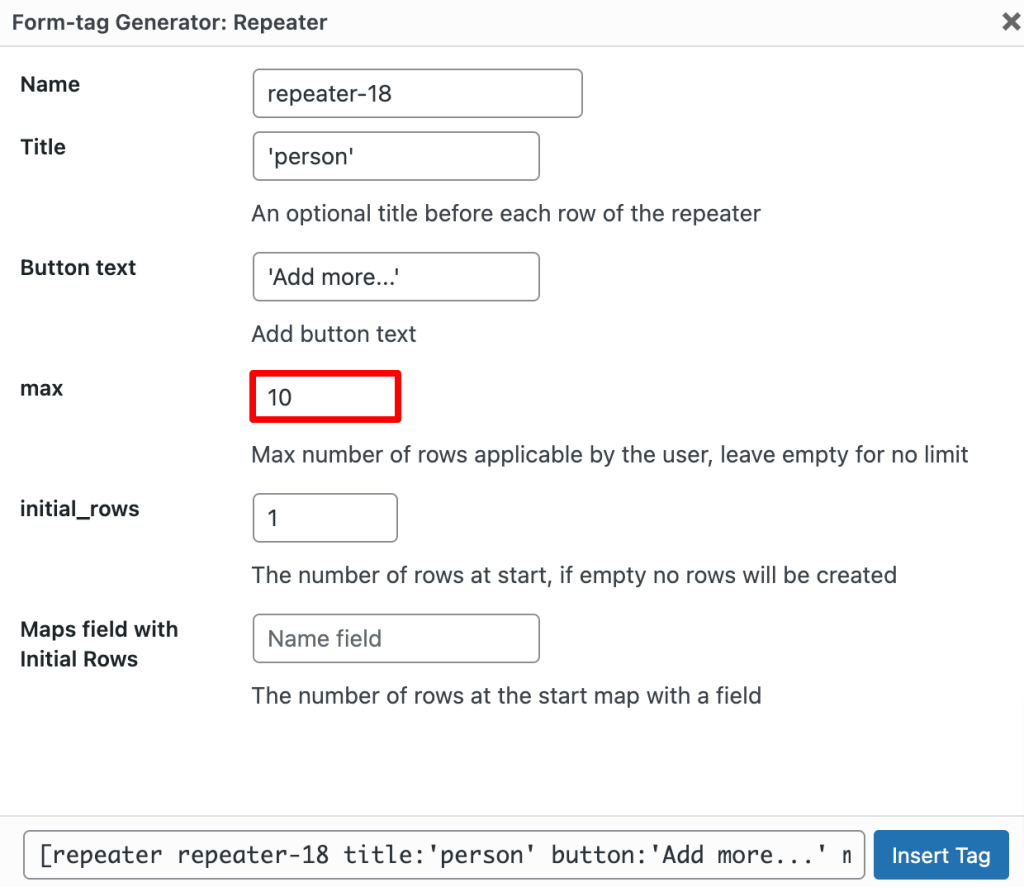
E.g: If you want to repeat your email field 2 times.
[repeater repeater-821 max:2] <label> Your email
    [email* your-email autocomplete:email] </label>
[/repeater]
And the result looks like this:
3. How To Set Initial Row?
It means the number of rows at start, by typing the number in the Initial Row box.
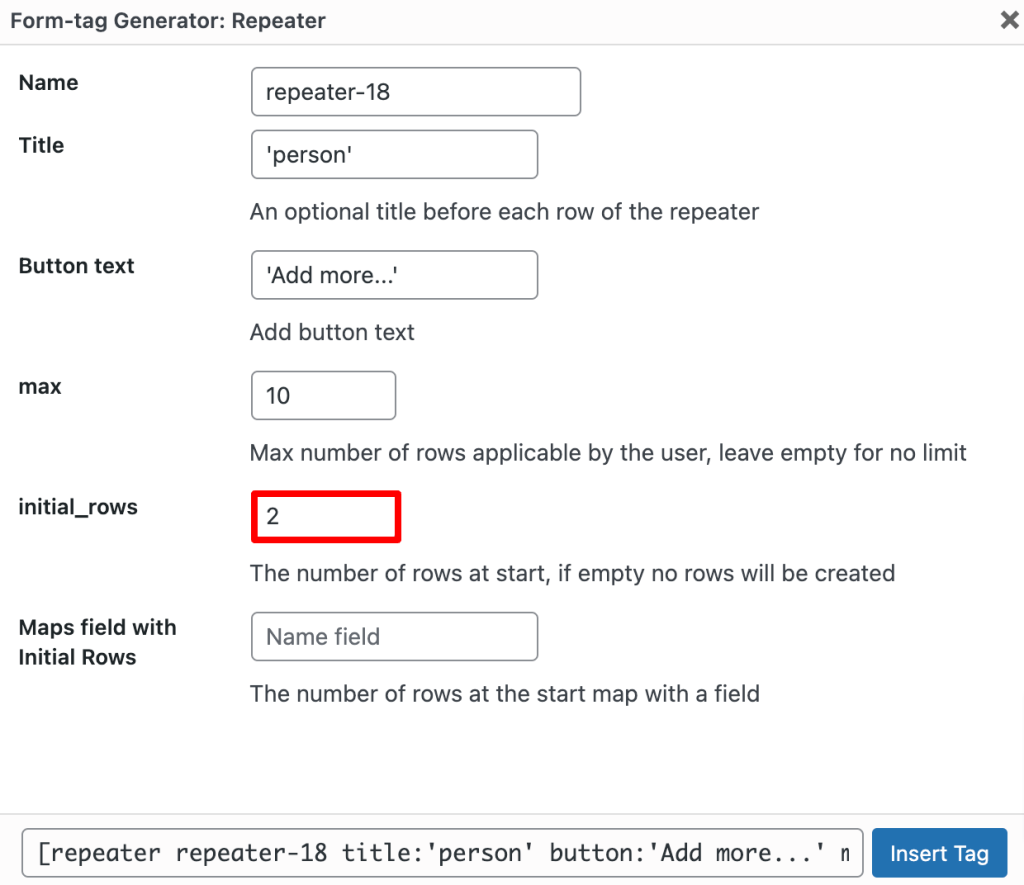
E.g: You want to show 2 repeating fields at first.
[repeater repeater-329 title:'Email' button:'Add more...' max:5 initial_rows:2]
<label> Email
     [email email-198]</label>
[/repeater]
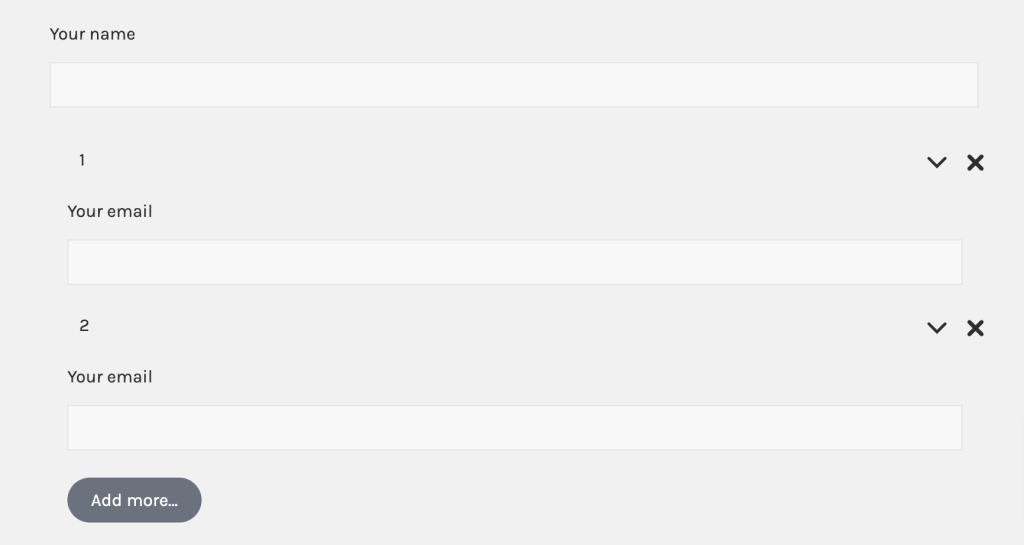
And the result looks like this:
4. How To Use Map Field or Auto List Field?
By tying the name field in the Map box, you can generate auto-repeater fields.
For example, suppose you have a form for registering event guests. To start, a user could input the number of tickets needed. That number would then be used to generate a corresponding number of list field rows in real-time.
Step 1: Add a field to your form, it can be Number or Dropdown … to enter values.
Step 2: Build a repeatable fields
Step 3: Enable field values to create auto-repeat fields based on the value of the field.
You need to copy the name field of the value field and paste it into the Map Field with Initial Rows.
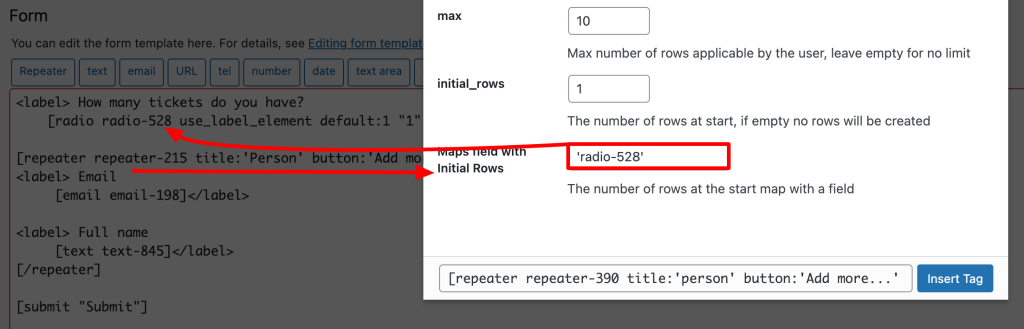
<label> How many tickets do you have?
    [radio radio-528 use_label_element default:1 "1" "2" "3" "4" "5"] </label>

[repeater repeater-215 title:'Person' button:'Add more...' max:10 initial_rows:1 initial_rows_map:'radio-528']
<label> Email
     [email email-198]</label>

<label> Full name
     [text text-845]</label>
[/repeater]

[submit "Submit"]
You can see the results:

5. Email data – top
User name ( E.g: [repeater-56] )
Important: Check “Use HTML content type”
Repeater Email
If you want to use Email 2 to send messages to all email addresses generated inside the repeater field,
please make sure the email field name is set to email_repeater.
This allows the plugin to detect the repeater emails and send them correctly.
[repeater repeater-980 title:'Email' button:'Add email' max:10 initial_rows:1]
    <label>Your Email
        [email email_repeater]
    </label>
    </label>
[/repeater]
That’s it! We hope this article helped you learn how to add Repeater with Contact form 7.