This document provides a comprehensive guide on how to enhance your WPForms emails by customizing email templates using the Pro version of the plugin. With this feature, you can tailor emails for each specific form, ensuring that your communications are personalized and aligned with your brand.

1. Make it Clear
To begin, let us compare the differences between these two Email Customizer plugin features:
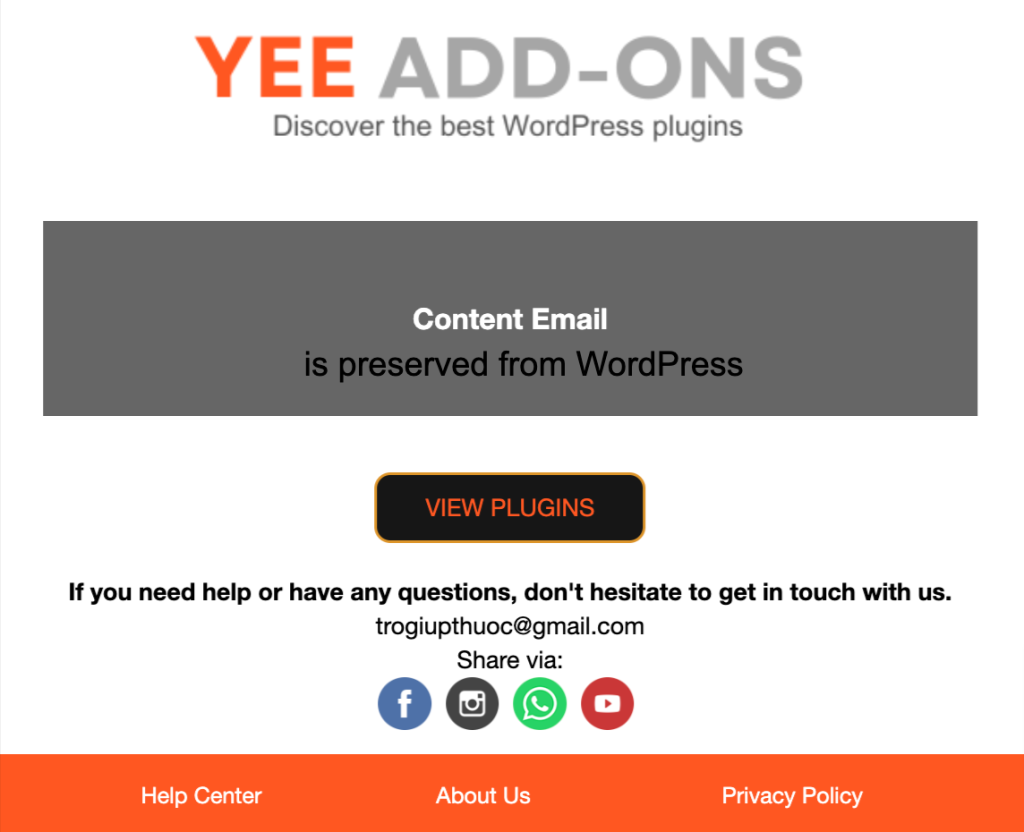
Customize Email Template For All WPForms Emails – Free Version
- You can only customize the Default Email Template and Core WordPress Email Templates: Password Reset, New User Notification,…
- This Default Template will be applied to all emails sent from all Contact Form 7 forms on your WordPress site.
- You can customize the appearance, layout, colors, fonts, image, header, footer, etc. but the email content and formatting are preserved from WordPress.
Email Customizer for Each WPForms Form – Pro version
- You can customize each Email Template for each WPForms form on your WordPress site and Core WordPress Email Templates: Password Reset, New User Notification,…
- This allows you to design a tailored email experience for each form, fitting the content and purpose of each form.
- You can customize/design all the things on the email template including the appearance, layout, content email, colors, fonts, header, footer,….etc.
2. Plugin Installation
Before diving into customization, ensure you have the following plugins installed and activated:
- WPForms: The primary plugin for managing forms.
- YeeMail Email Customizer: This plugin allows you to design and customize email templates.
Download here: Email Customizer for WPForms
To install these plugins:
- Go to the WordPress dashboard.
- Navigate to Plugins > Add New.
- Search for the plugin you’ve just downloaded
- Click Install Now and then Activate.
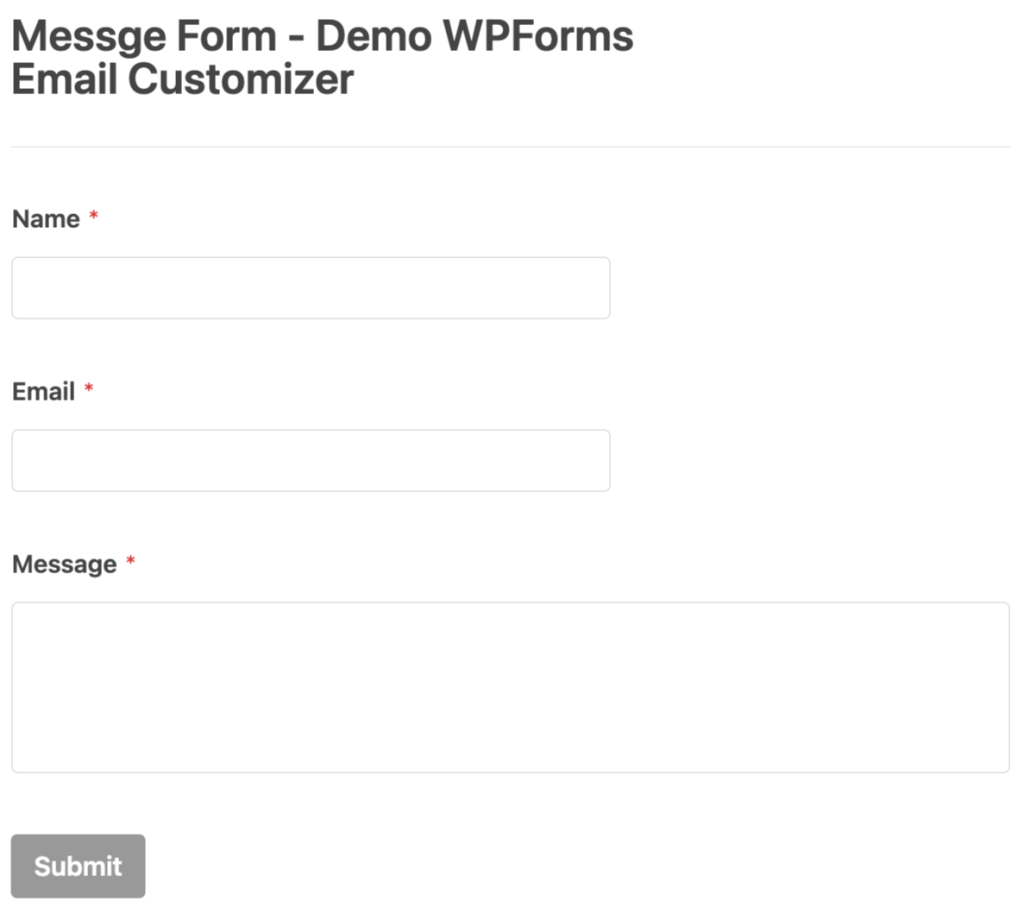
3. Create Your Contact Form
- Navigate to WPForms: In the WordPress dashboard, go to WPForms
- Add a New Form: Click on Add New to create a new form. You can see our example:
4. Access the Email Customizer
On your WordPress dashboard, go to YeeMail > Click on New Template to start designing your email.

5. Design the Email Template
You can select a pre-built layout from the available options or start from scratch.

Then use the drag-and-drop interface to add headers, footers,…, and content areas.
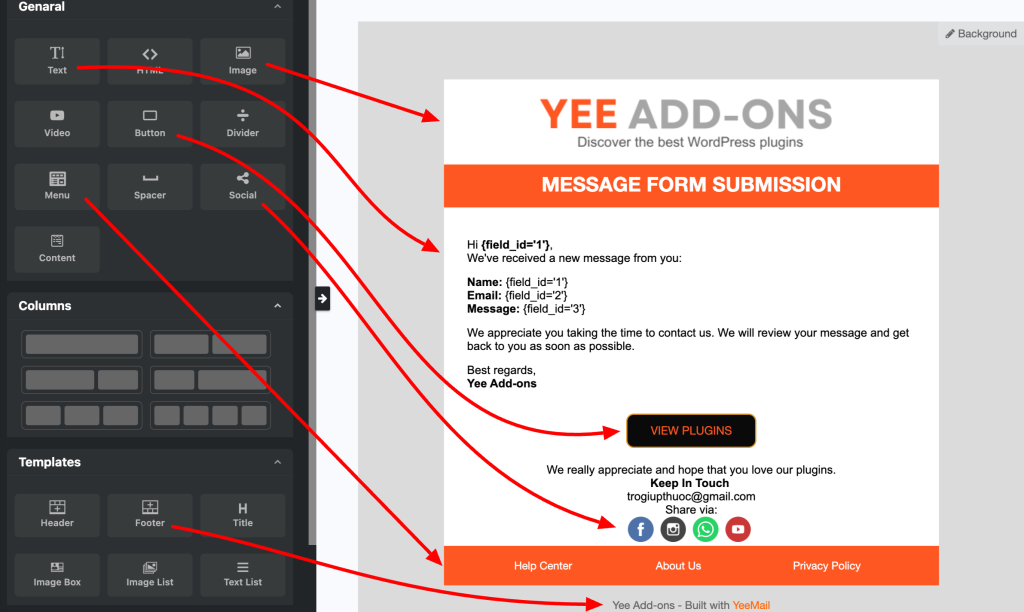
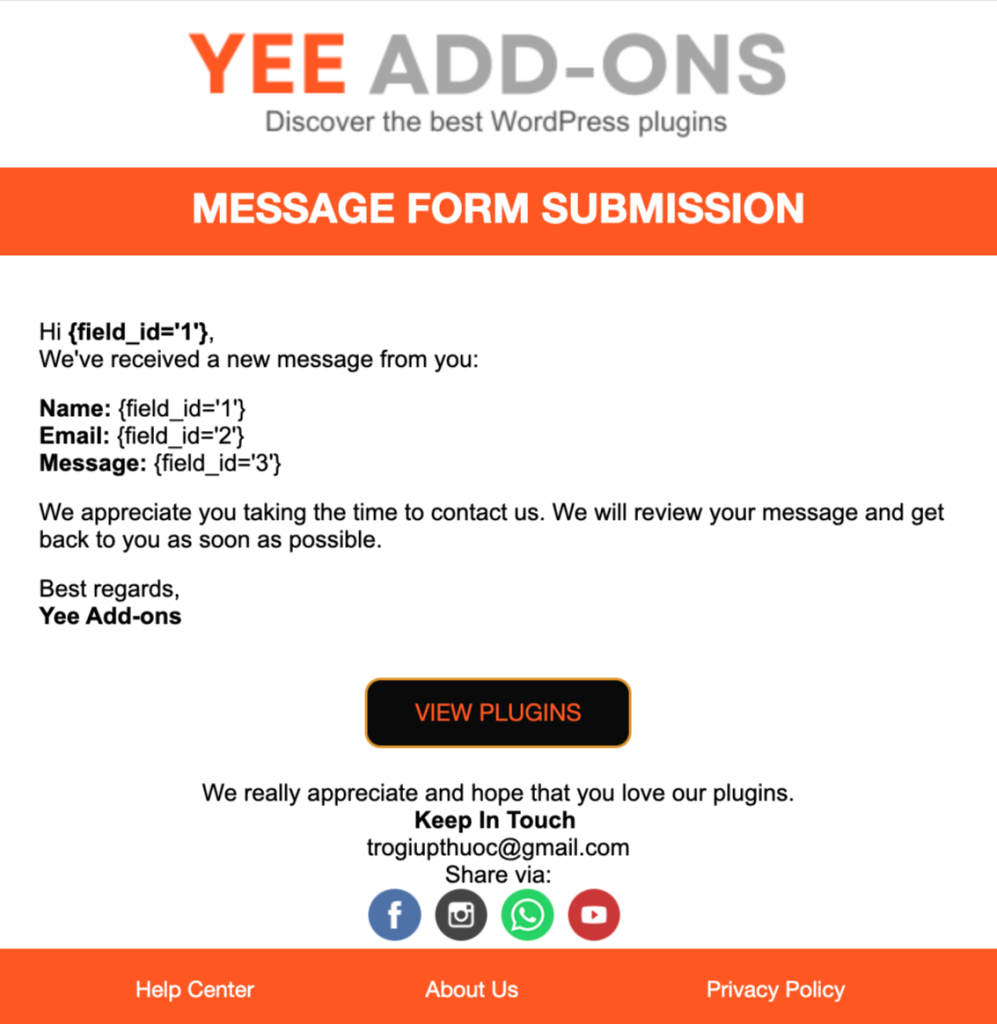
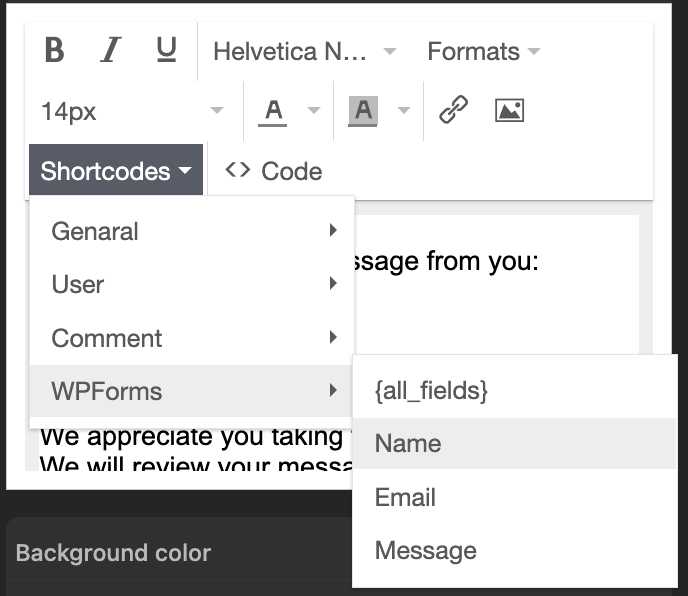
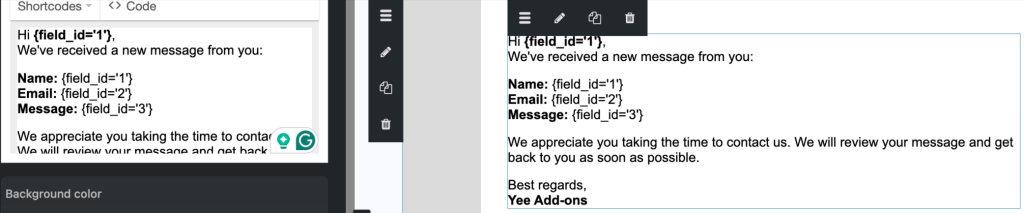
Utilize shortcodes to insert dynamic data from the form:
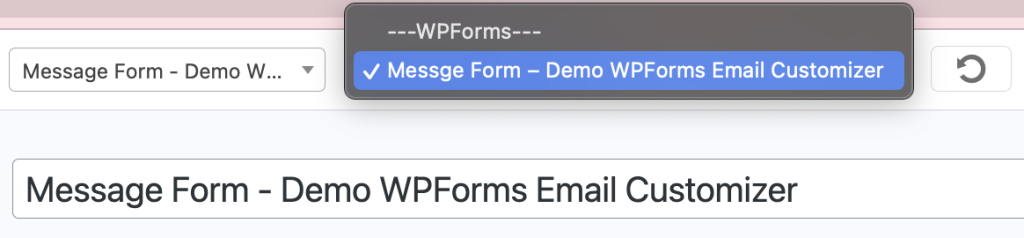
- Navigate to the WPForms menu at the top of the template editor: choose the form you want to create a template for.
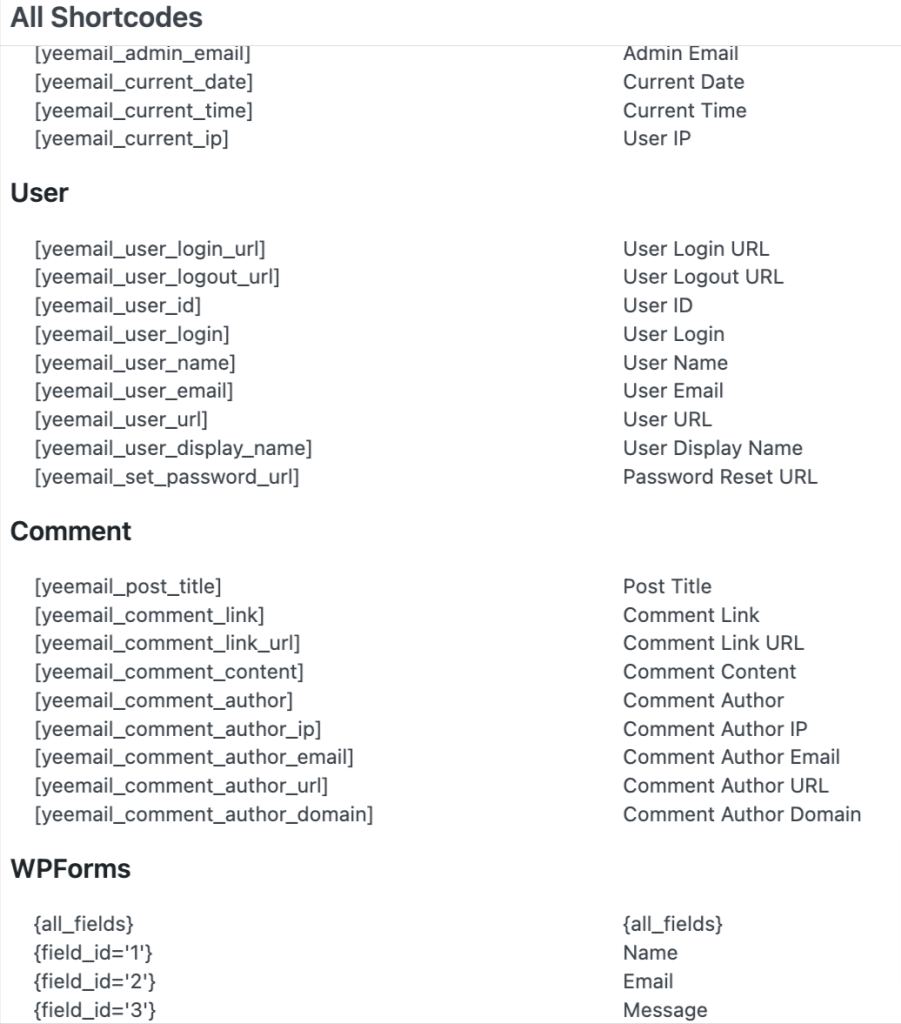
- Go to Shortcodes – Choose the fields. Or click on All Shortcodes to copy the fields to create your content email.
- You can see our content email:
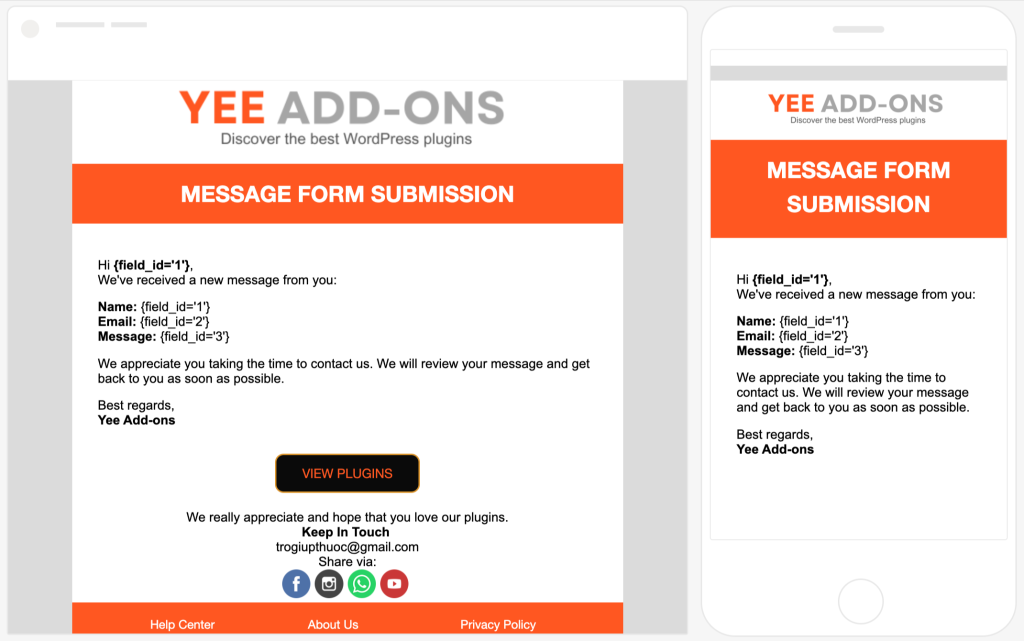
6. Previewing the Template
Use the Preview feature to see how the email looks on both desktop and mobile devices. Make adjustments as necessary to ensure responsiveness.
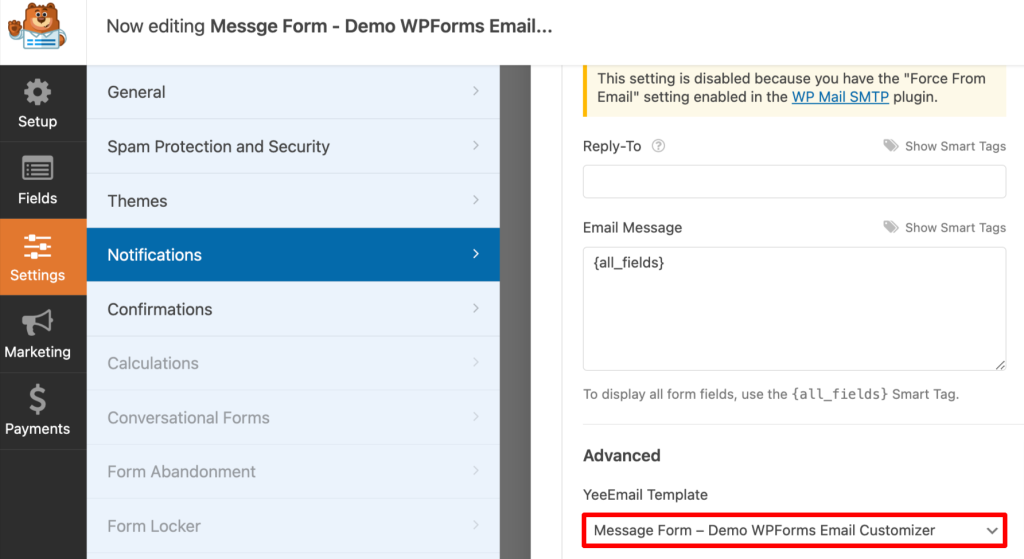
7. Integrate with WPForms
After you complete designing a template, you should go to the Form – Settings – Notifications – Choose the template you’ve customized – Save the form.
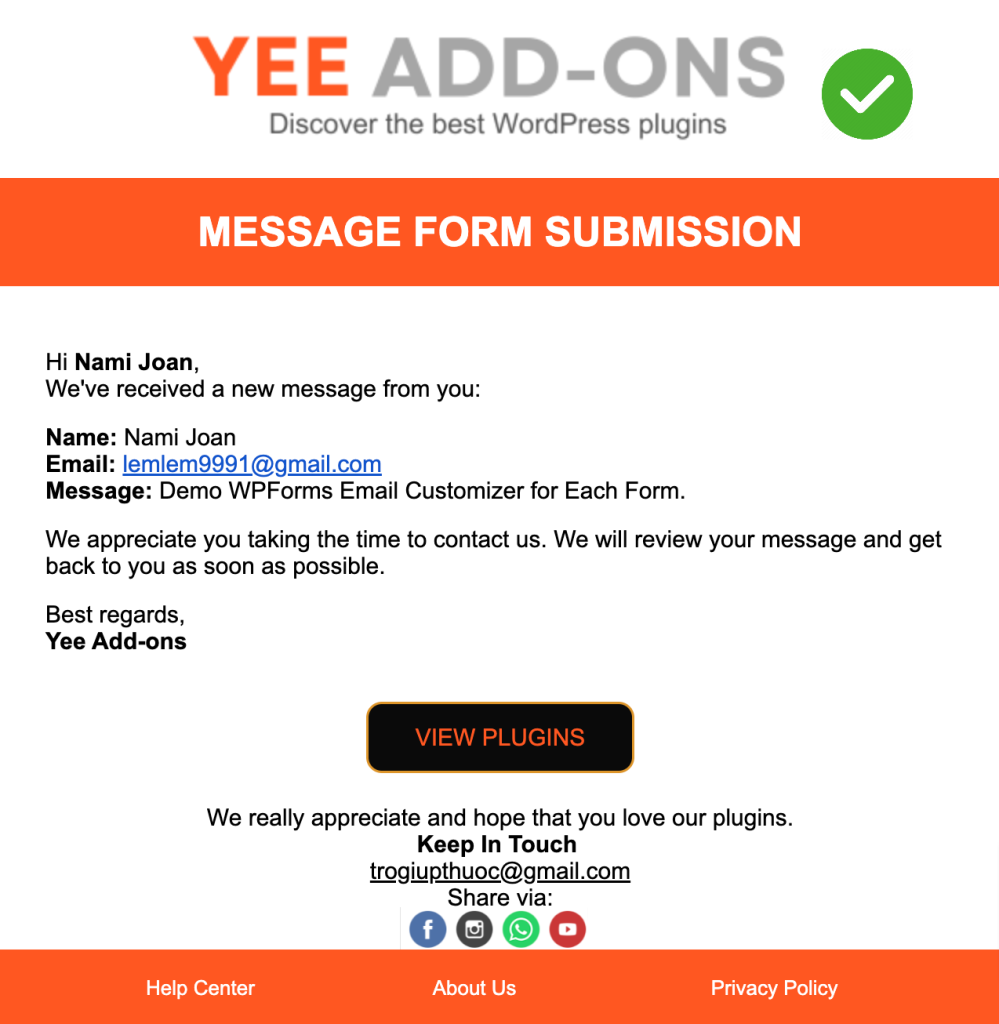
8. Testing the Email Customization
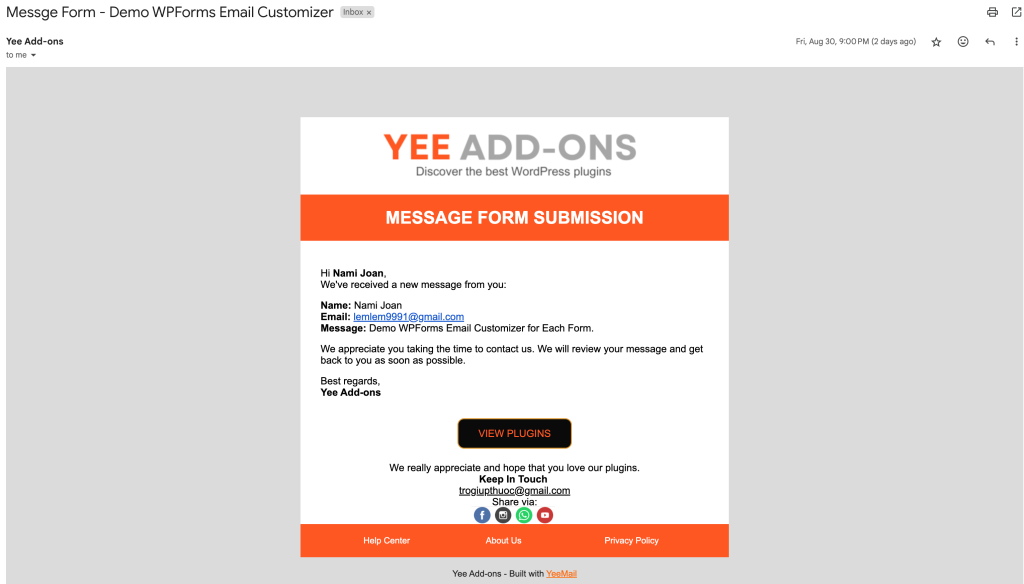
Submit the Form: Fill out your contact form and submit it to test the email functionality.
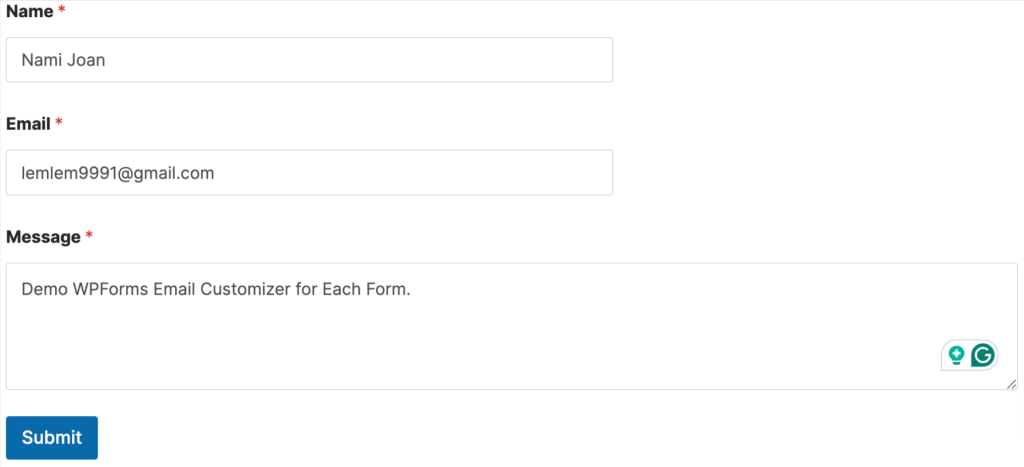
Check Your Inbox: Verify that the email has been received and that the customized template is displayed correctly.
By implementing these steps, you will not only improve your email communications but also enhance the overall user experience on your website. Happy customizing!