The free version of the Email Customizer plugin for WordPress allows you to customize the Default Email Template that will be used for all emails sent from your Contact Form 7 forms.
Essentially, the Default template acts as the overall branding and styling for any email sent from your WordPress site.
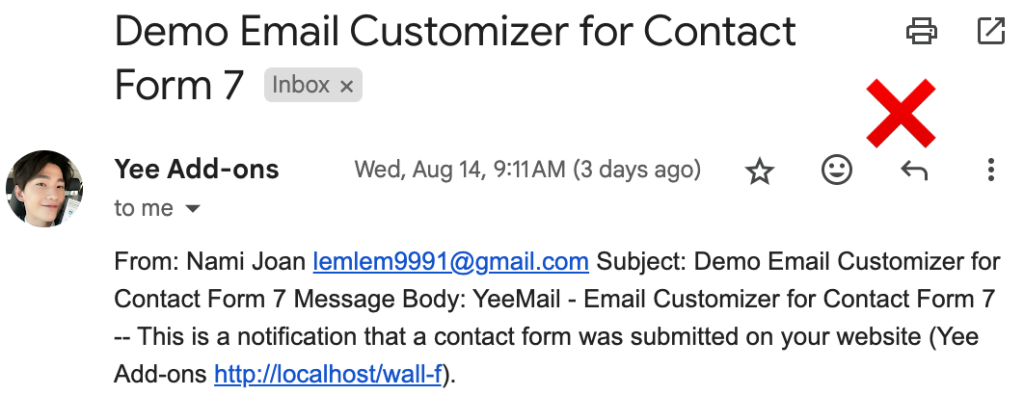
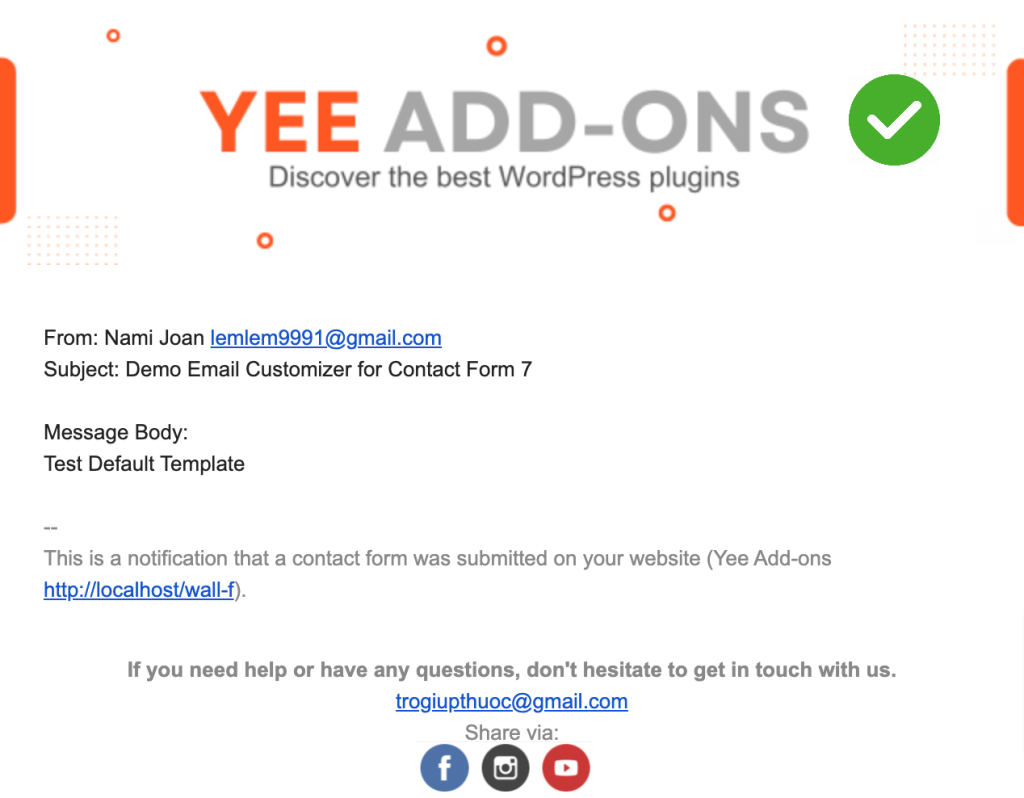
Table of contents:
1. Make It Clear
To begin, let us compare the differences between these two Email Customizer plugin features:
Customize Email Template For All Contact Form 7 Emails – Free Version
- You can only customize the Default Email Template and Core WordPress Email Templates: Password Reset, New User Notification,…
- This Default Template will be applied to all emails sent from all Contact Form 7 forms on your WordPress site.
- You can customize the appearance, layout, colors, fonts, image, header, footer, etc. but the email content and formatting are preserved from WordPress.
Email Customizer for Each Contact Form 7 Form – Pro version
- You can customize each Email Template for each Contact Form 7 form on your WordPress site and Core WordPress Email Templates: Password Reset, New User Notification,…
- This allows you to design a tailored email experience for each form, fitting the content and purpose of each form.
- You can customize/design all the things on the email template including the appearance, layout, content email, colors, fonts, header, footer,….etc.
In summary, the Free version allows you to customize a single email template that applies to all forms, while the Pro version offers the additional feature of allowing you to customize an email template for each Contact Form 7 Form.
Can you determine which version would be more suitable for your needs? Let us know if you need any additional information.
2. Plugin Installation
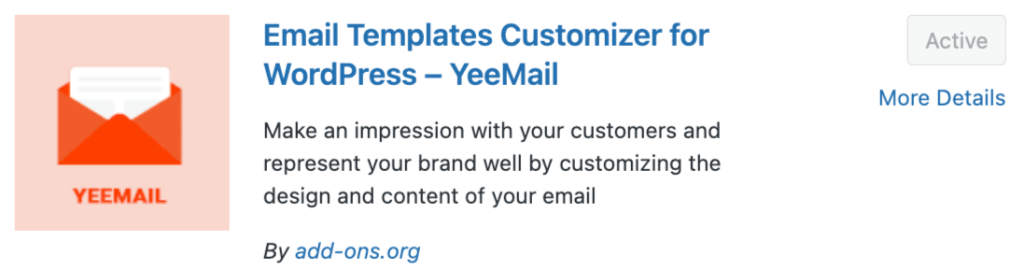
On your WordPress dashboard, navigate to Plugins – Add New Plugins – Search for Yeemail – Install Now – Activate the plugin.
3. Customize Default Template
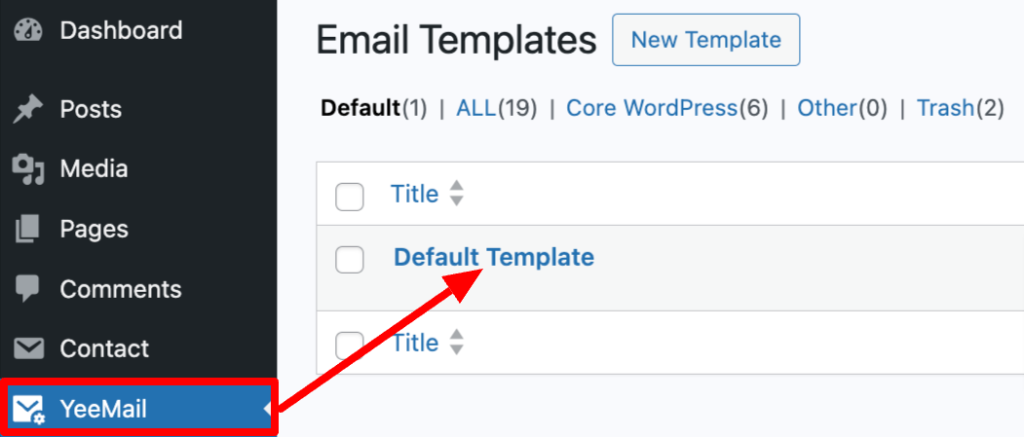
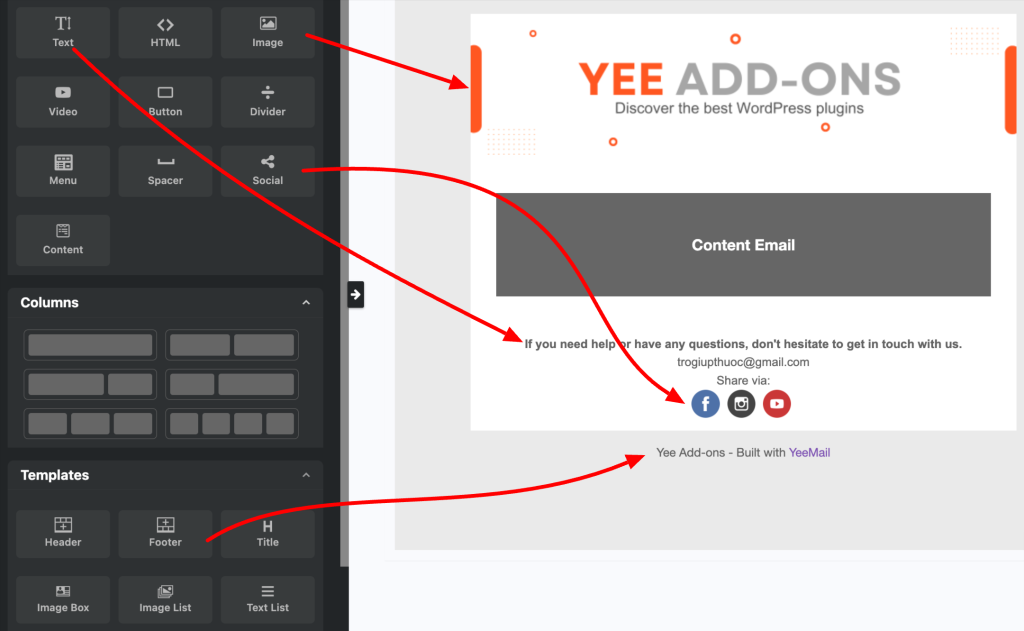
After activating, you go to the YeeMail section on your WordPress admin panel. Then you will see the Default Template, click it to customize the template.
Using the drag-and-drop interface to add headers, footers, images, social, text,…
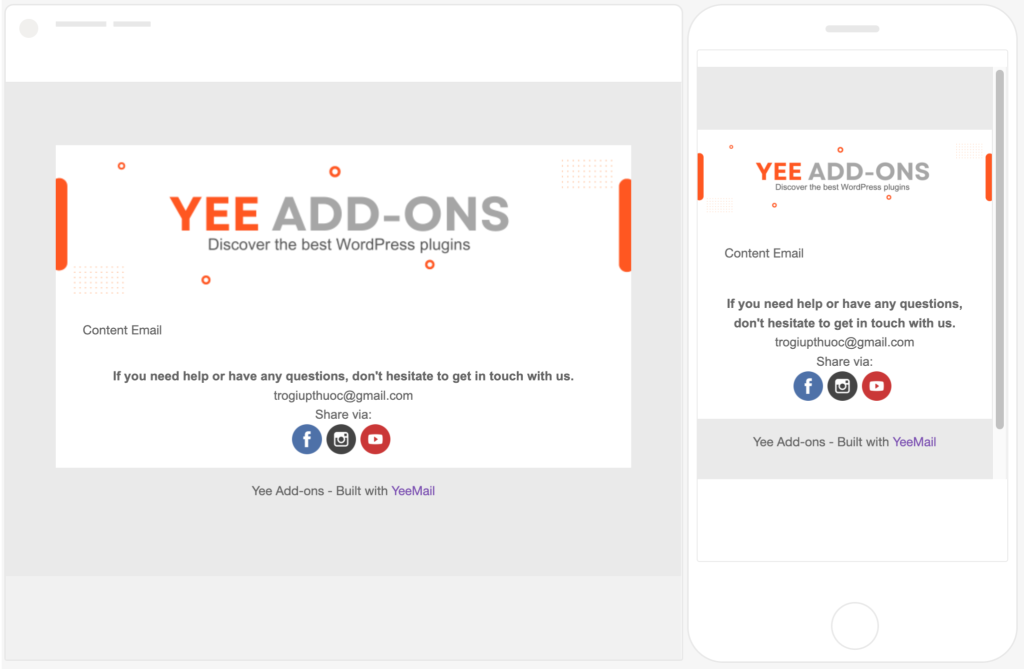
4. Save and Have a preview
Use the preview feature to see how the email will look.
5. Enable the Default Template
After saving the customized Default template, you must enable it to make it the active template for all emails.

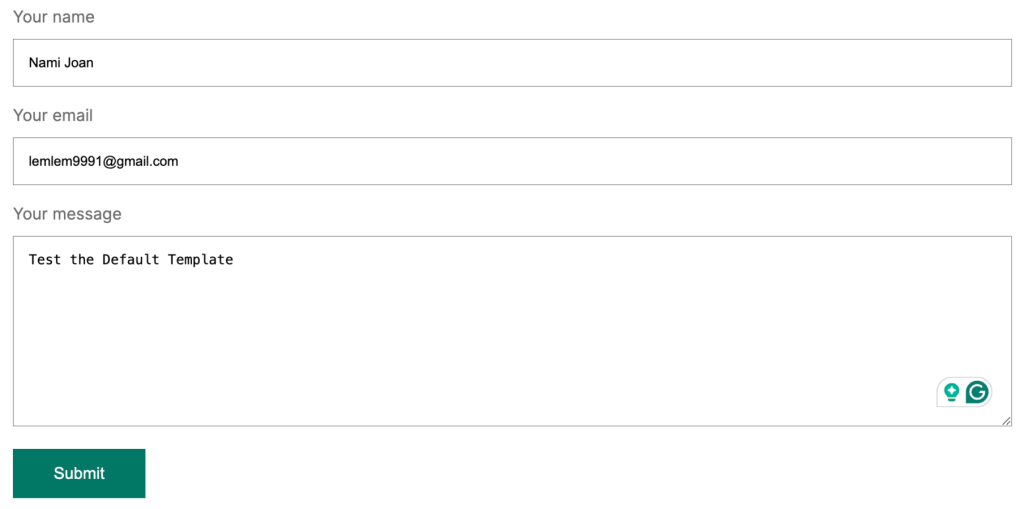
6. Test the template
Submit a form to verify that the customized email template is functioning as expected.
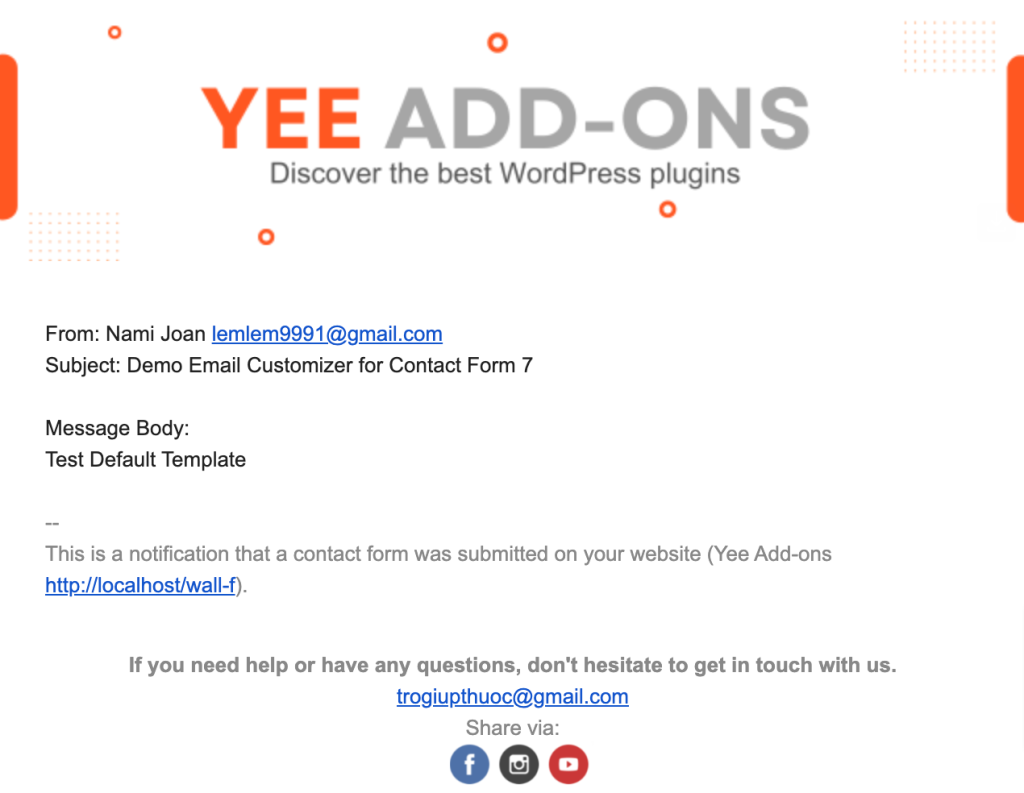
By following these steps, you can fully customize the Default template to match your WordPress site’s visual identity and branding.